Snowflake
Adding Snowflake as data source
-
From the left navigation panel, click Lakehouse and then click Data Sources.
-
From the upper right corner of the page, click the + New Data Source button to start the process of adding a new database.
-
In the New Data Source page, click the Snowflake icon.
-
Specify the following details to add Snowflake. Once you have connected a data source, the system immediately fetches its schema. After this schema retrieval process is complete you can browse and interact with the tables and data.
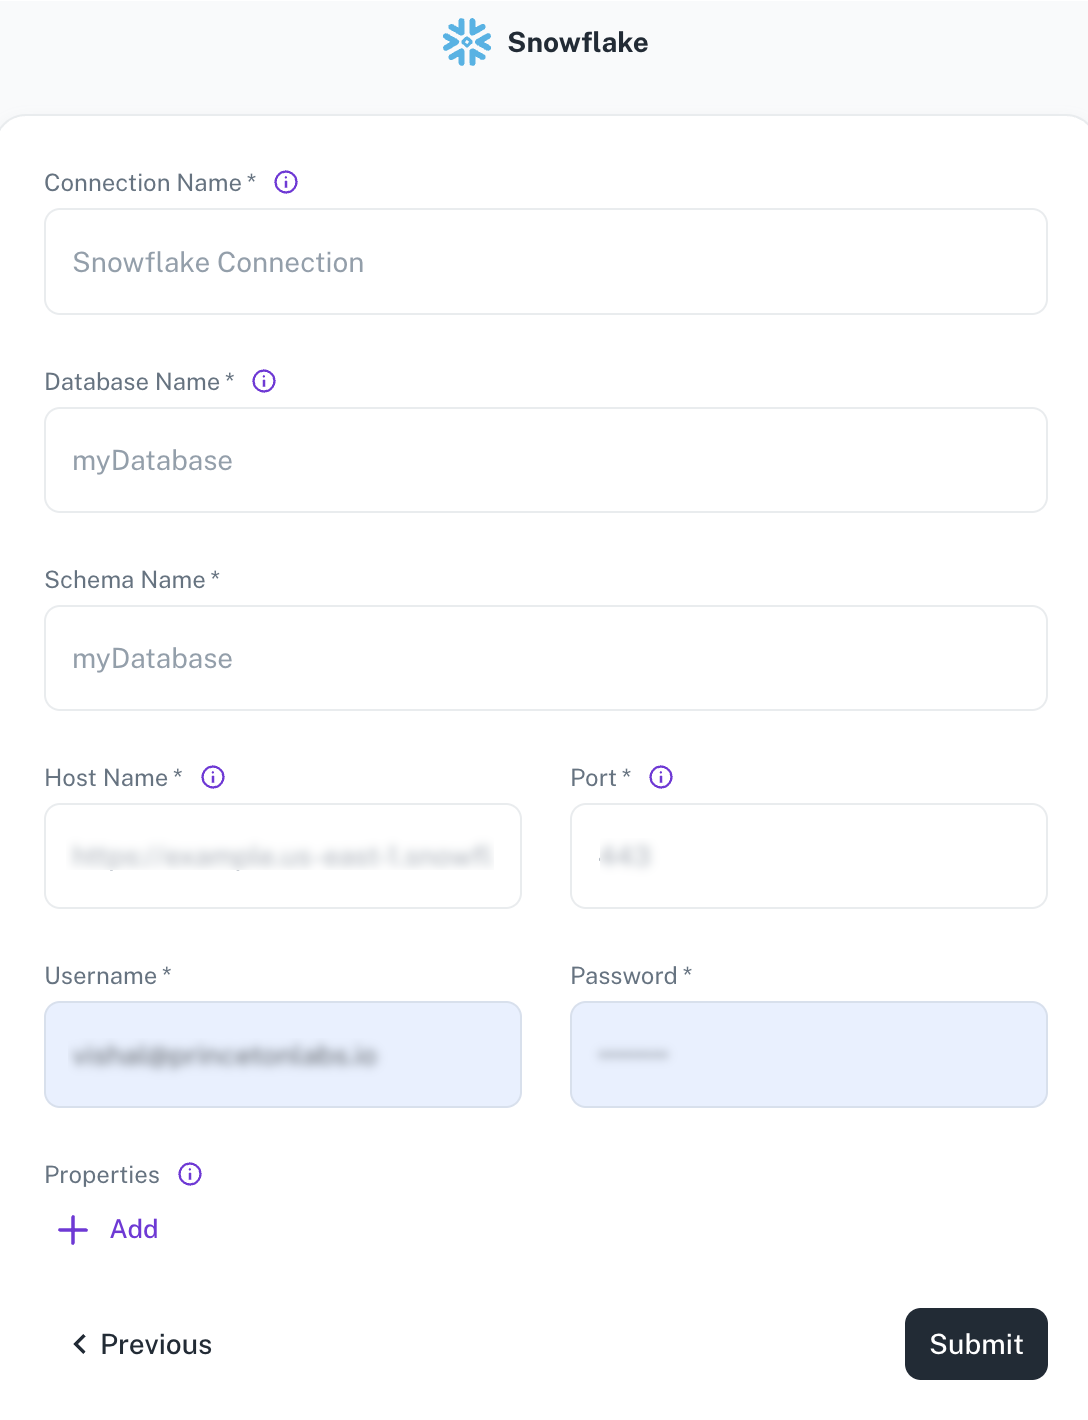
Field Description Connection Name Enter a unique name for this connection. This will help you identify it later. Database Name Specify the name of the existing database you want to connect to. Schema Name Specify the schema name for your connection. Hostname Provide the hostname or IP address of the server where the database resides. Port Enter the port number used by the database server. Username/Password Provide the credentials to access the database server. Properties Specify additional settings by entering key/value pairs. Each pair represents a unique property and its value. -
Click Submit.
Supported Sync modes
Snowflake supports the following Sync modes:
- Full Refresh
- Incremental | Append
Was this helpful?